Views: 0 Author: Site Editor Publish Time: 2026-10-23 Origin: Site
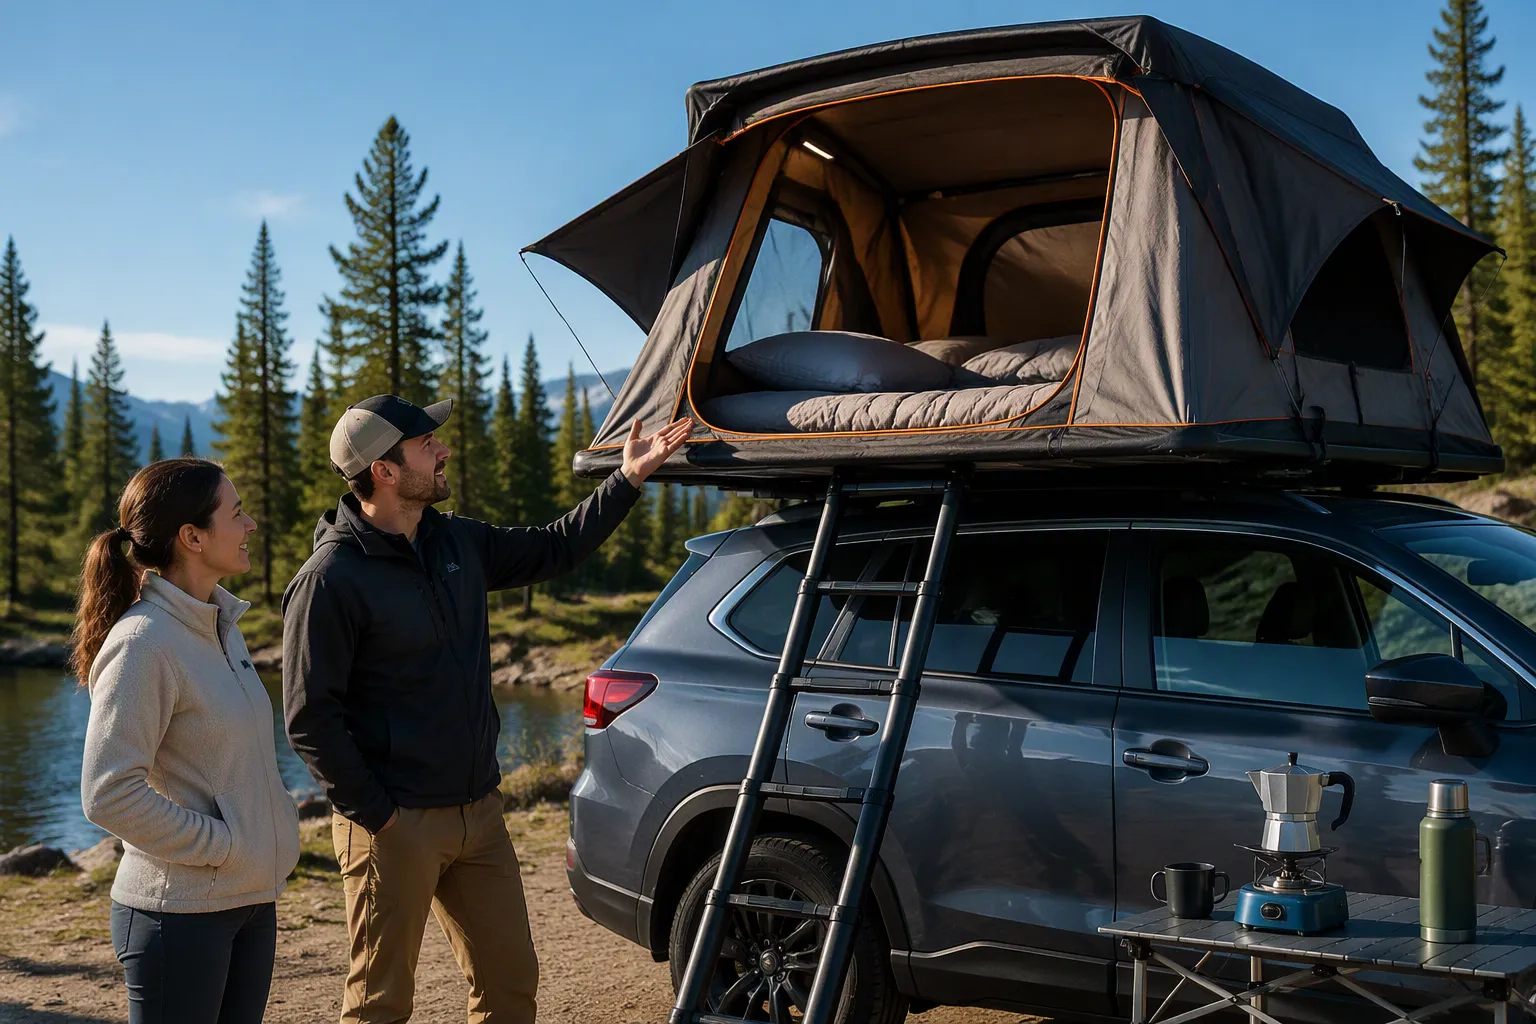
A rooftop tent is camping gear that fits onto your vehicle's roof rack. It gives you an elevated sleeping platform, and it deploys in minutes.
The appeal is simple. You sleep off the ground, away from rocks and wet soil, and you skip the tent pegs entirely. Setup is fast, and you camp wherever four wheels can stand.
This beginner's guide to rooftop tents sticks to the questions that matter most. Will it fit your car? Which style suits you? How do you set it up, stay comfortable, and budget for one? Think of this as your friendly beginner's guide to rooftop tents, written for real first-timers.
A rooftop tent mounts on your car's roof rack and unfolds into a bed in minutes.
Check your vehicle's dynamic and static weight ratings before buying a tent.
Softshell tents offer more space and cost less, while hardshell tents set up faster.
Practice setting up your tent at home before your first camping trip.
Keep your tent dry and use an anti-condensation mat to prevent moisture buildup.
Expect a drop in fuel economy of about 17% when you carry a rooftop tent.
Plan your budget for the tent, roof rack, and accessories like a mattress topper.
Measure your garage clearance to ensure your vehicle with the tent fits.
So what is a rooftop tent, really? It's a camping tent mounted on your vehicle's roof rack or roof bars. You drive to camp, unlatch it, and unfold it in a few simple steps. That's the whole idea.
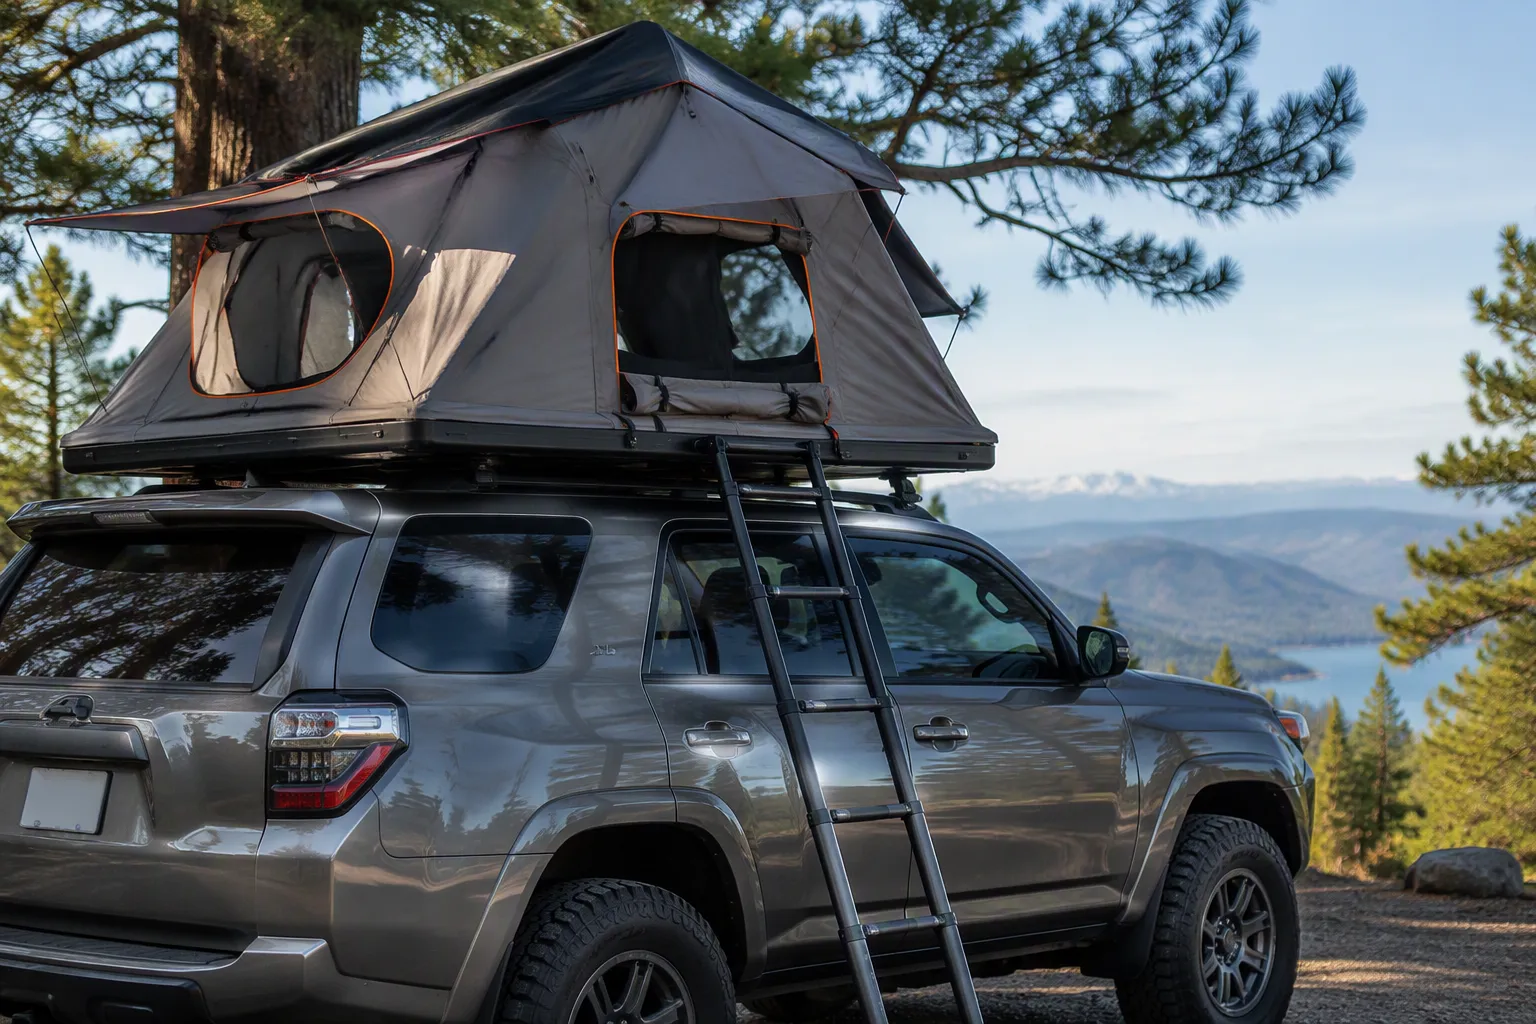
A rooftop tent attaches to the bars or platform already on your roof. A robust mounting system and hardware secure the tent to the vehicle. That hardware spreads the weight evenly and keeps things stable across conditions. The tent fabric and construction materials form the weatherproof outer shell. Quality materials resist UV, water, and repeated setup wear. You also get a telescoping or folding ladder with non-slip steps for safe entry and exit. These parts work together as one package.
You sleep up high, not on the dirt. That elevation frees you from soft ground, rocks, and tent pegs. It also ties you to where four wheels can stand. Your campsite is wherever you can park legally and safely.
Weight matters here. A rooftop tent typically weighs an average of about 100 lbs, though this varies with size and type. Here's how a few real models compare:
Tent Model | Type | Weight |
|---|---|---|
iKamper Skycamp Mini | Hardshell | 125 lbs (57 kg) |
Roofnest Sparrow Eye | Hardshell | 123 lbs |
OVS TMBK 3 | Softshell | 108 lbs |
Smittybilt Overlander | Softshell | 108 lbs |
OVS Nomadic 3 Standard | Softshell | 174 lbs |
Most softshell designs use a fold-out mechanism. The two most common styles work like this:
Mechanism Style | How the Fold-Out Works | Stored vs. Deployed Area |
|---|---|---|
Bi-fold (most common) | The tent stows as a "sandwich" between bottom plates; unfolding pulls the fabric support structure into position and tightens the fabric | Usable area is double the stored area |
Pull-up | The bottom plates stay put; only the roof supports pull up, tightening the fabric overhead | Usable area and mattress stay the same |
Both styles use a manual unfolding procedure. You expand the frame until the fabric is taut. Some models offer electronically assisted mechanisms.
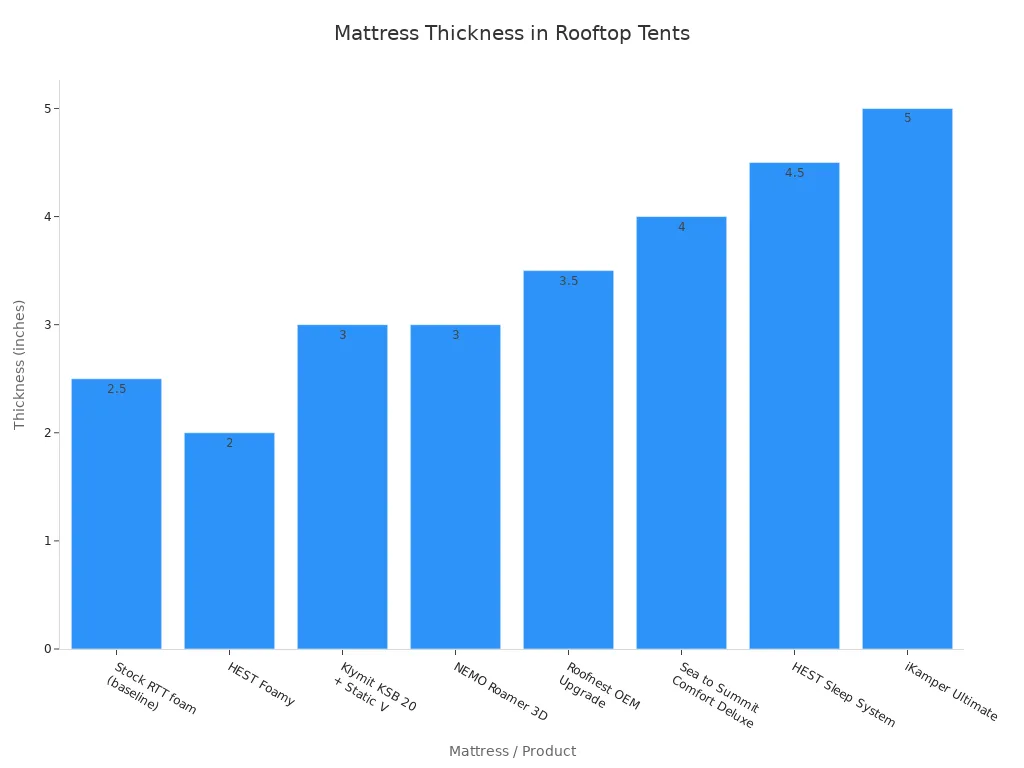
The frame and mattress come built in. You don't pack a separate air mattress. Stock pads are often thin, though. Most stock rooftop tent mattresses run about 2–3 inches thick, and thin stock pads are the most common complaint among owners. Aftermarket upgrades range from about 2 to 5 inches.
Weekend campers love the quick setup. You arrive, unfold, and you're done. No pole sorting, no stake pounding. Families and urban dwellers are a growing segment too. Compact storage and easy use suit them well.
Road trippers move camp every day. A rooftop tent shines here. Pack it down in the morning, drive, and set up somewhere new by evening. Millennials and Gen Z are adopting rooftop tents in growing numbers. They favor experiences over possessions and invest in adventure travel. Off-road enthusiasts and serious outdoor adventurers were the early adopters. One catch: not every car, SUV, or truck can carry one. The audience skews toward adventure-seekers with compatible vehicles.
Before you shop for a tent, check what your roof can actually carry. Fit comes down to three things: your vehicle's size, shape, and roof load capacity, plus the rack you bolt on top.
Two ratings govern every setup. The dynamic weight capacity applies while you drive. The static weight capacity applies while you park and sleep. Dynamic is always the lower number, because braking, cornering, and potholes multiply the forces on your roof. Static runs higher, often 3–5 times the dynamic figure, since the ladder adds a ground support point and the load spreads across the mounts, frame, and suspension.
Aspect | Dynamic Rating | Static Rating |
|---|---|---|
When it applies | While driving | While parked |
Typical magnitude | The lower number | Often 3–5x higher |
Example | 75 kg | 300 kg |
A Toyota 4Runner carries about 165 lbs dynamic but roughly 700–770 lbs static. So the dynamic rating decides whether you can transport the tent. The static rating decides how many people can sleep in it.
Most cars, trucks, and SUVs average around 165 lbs of dynamic roof load capacity. Specific models vary widely. A 2017 Toyota RAV4 rates at 100 lbs. That number is the amount your roof can support while the vehicle is in motion, and it includes the rack, tent, and every accessory.
You need a compatible roof rack rated for the load. Factory crossbars typically weigh 20–40 lbs, aftermarket bars 25–50 lbs, and platform racks 70–90 lbs. Space two crossbars 24–36 inches apart for a small tent, or add a third bar for a larger one. Aim for 30–60 inches of spacing, at least 33 inches of usable mounting width, and 6–12 inches of offset from each end rail.
Keep the hardware close to the rack's attachment points. That placement minimizes stress concentration. Wondering what roof rack do I need? Pick the right roof rack by matching its capacity to your tent's weight plus gear, and confirm the clamps fit your bars.
Popular choices include the Toyota 4Runner, Tacoma, Tundra, and Land Cruiser, the Subaru Outback and Forester, the Jeep Wrangler and Gladiator, the Ford F-150 and Bronco, and the Chevrolet Colorado and Silverado. A 2024 Ford Ranger rates 125 lbs dynamic and 600 lbs static on its bed rails. Even a 2024 Porsche 911 Dakar manages 165 lbs dynamic and 309–419 lbs static.
Small cars often fall short on roof load capacity, so check the manual first. Trailers offer another route. Either way, vehicle compatibility depends on ratings, not body style. Confirm your setup is compatible with your vehicle before you buy, and you will keep mounting your rooftop tent safely and securely.
You'll meet two main types of rooftop tents when you shop: softshell and hardshell. This complete guide to rooftop tents breaks down both, so you can match a design to your camping style.
Softshell rooftop tents use a fold-out canvas body. The fabric stows as a sandwich between base plates, and unfolding pulls the frame into shape. Materials matter here, so check the spec sheet against these benchmarks:
Specification | Recommended Value |
|---|---|
Fabric | 600D ripstop polyester or poly-cotton blend |
Waterproof coating | PU coating rated 2000mm or higher |
Fabric treatments | UV resistance and mold resistance |
Seams | Sealed or taped |
Zippers | Heavy-duty (YKK preferred) |
Frame | Sturdy aluminum or steel |
Mattress | High-density foam, at least 3 inches thick |
Polyester resists moisture and UV degradation, and it holds its shape when wet. A polycotton blend adds breathability to synthetic durability. The PU coating handles the waterproofing, and it stays stable in low temperatures.
Softshell rooftop tents win on interior space. The fold-out floor doubles your usable area, so families and basecampers get real room to move. They also cost less, typically $1,400–$2,600. You trade some setup speed for that space, since deployment takes about 3–5 minutes. Many softshell rooftop tents also offer annexes for extra living space.
Hardshell rooftop tents come in clamshell and pop-up styles. A rigid shell and gas struts do the lifting. Release two latches, push up, and you're done — genuinely 60 seconds on many models. Most hardshell rooftop tents set up in 1–3 minutes.
The low profile is the other big draw. A closed hardshell slips through the air with less drag, and it frees the top of the shell for gear like a paddleboard. Cold weather suits them too, since the shell insulates better than canvas. Hardshell rooftop tents also need less upkeep than canvas.
Weigh how often you move camp. Relocate every night and a hardshell rewards you. Stay put for days and a softshell gives you the room. Both types of rooftop tents have loyal fans. Here's the head-to-head:
Factor | Hardshell | Softshell |
|---|---|---|
Setup Speed | 30–60 seconds | 3–5 minutes |
Interior Space | Moderate headroom | Spacious |
Fuel Economy | 1–3 MPG better | Higher drag |
Price | $2,400–$4,500 | $1,400–$2,600 |
Weight | 140–180 lbs | 110–140 lbs |
Your budget and parking spot decide a lot. Measure your garage door first — a closed hardshell plus rack often won't clear a standard 7-foot door. Compare hardshell and softshell tents on storage before you commit. Softshells pack smaller and cost less up front. A rooftop tent is a long-term purchase, so choose a rooftop tent that fits your vehicle's ratings and your storage reality.
Here's the good news: most rooftop tents deploy in minutes. You don't sort poles or pound stakes. You unlatch, unfold, and climb in. Let's walk through the whole routine, from arrival to pack-down.
Park on level ground, set the parking brake, and clear space around the vehicle. On a hardshell, release the latches and lift the shell. Gas struts take over from there. On a softshell, unzip the travel cover, unfold the body, and extend the poles until the fabric pulls taut. Secure the rainfly last.
How long does this take? It depends on your tent and your practice.
Tent Type / Scenario | Typical Setup Time |
|---|---|
Hardshell tent | 30–90 seconds |
Softshell tent (practiced) | 3–5 minutes |
Softshell tent (first-time) | 10–15 minutes |
Real-world conditions (cold, wind, rain) | 5–10 minutes |
Comparison: ground tent | 15–30 minutes |
Most users hit the standard times after 3–4 deployments. That's a fast learning curve.
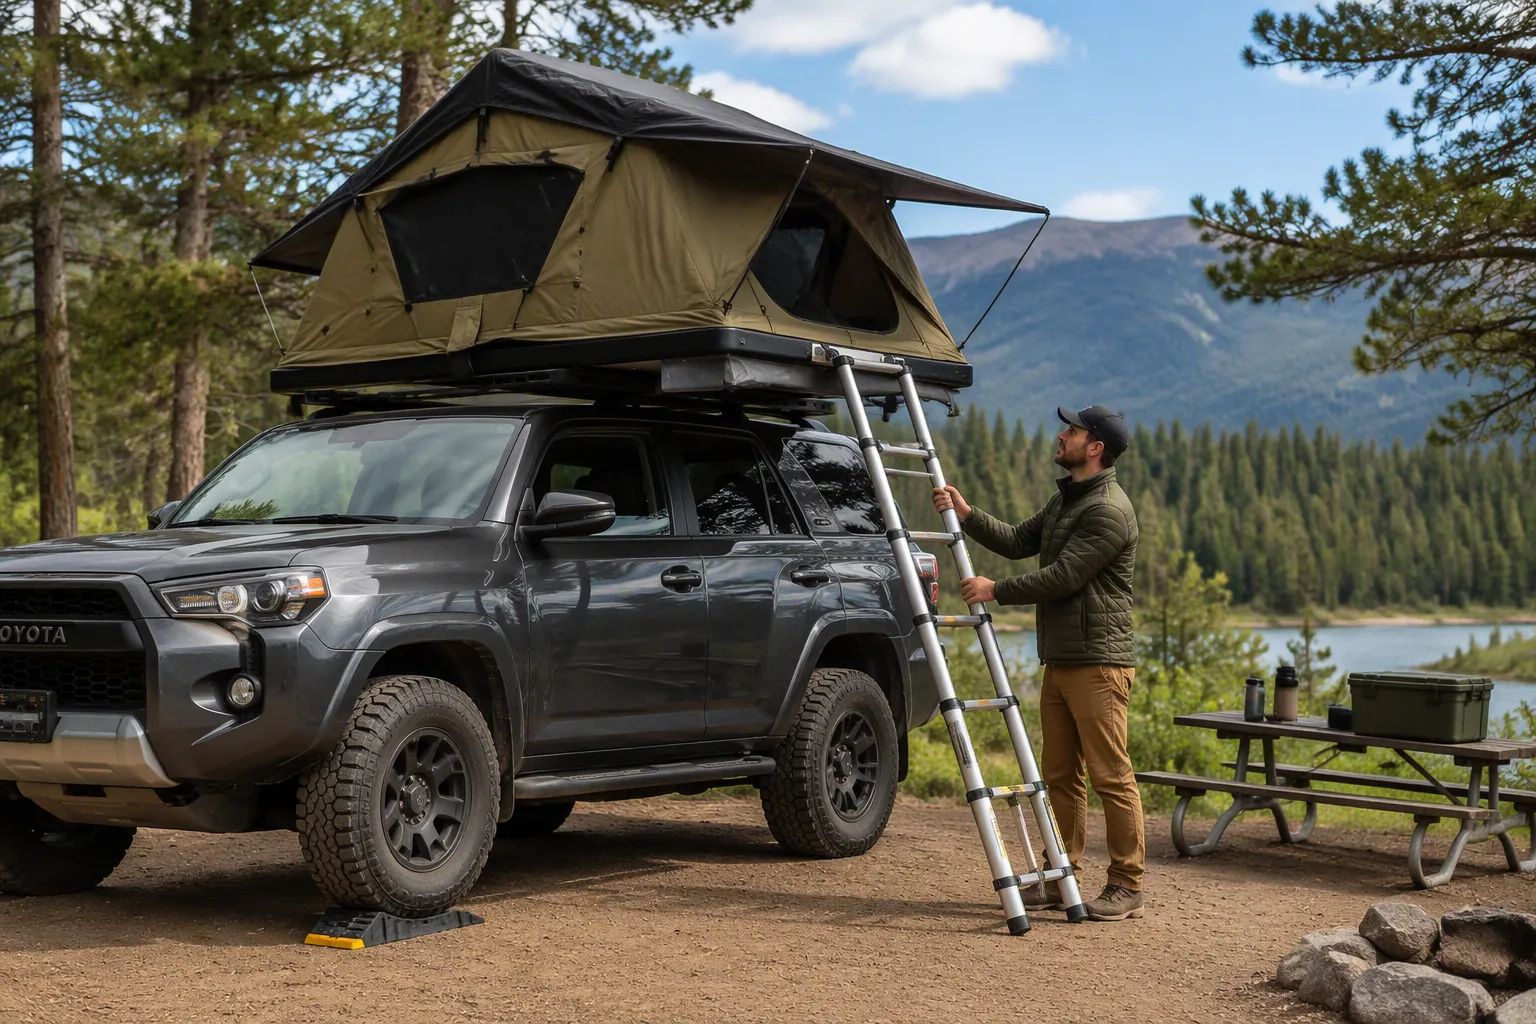
Hook the ladder onto its brackets and check that the feet rest firmly on the ground. Adjust the rungs so the ladder sits at a safe angle. Now check your level. A slight tilt is fine for sleeping, but a big slope strains the hinges and makes the ladder awkward. Use leveling blocks under the tires if you need to. Once the tent is up, give it a gentle shake. The vehicle should move with it as one unit.
Takedown reverses setup, and it goes quickly once you have a rhythm:
Shut the windows and vents.
Lower the roof while tucking the fabric inward.
Fasten the latches and head out.
With practice, setup and pack-down together can take under 5 minutes. Tuck the fabric carefully as the roof comes down. Pinched canvas wears out fast and can jam the latch.
Always let the tent dry completely before you pack it away. Storing it damp invites mold, and mold is a headache to remove. On wet mornings, wipe down the fabric and air it out at home. Coil straps neatly and stow them in the cover pocket. Loose straps flap in the wind and scuff your paint.
Set up a rooftop tent in your driveway before your first trip. This reveals needed adjustments or extra gear, like a car door step to reach the tent top. You'll also learn the smooth operation before you arrive at the campground. A dry run in daylight beats a fumbling first attempt in the dark.
Conditions change the routine. Cold weather makes the cover and zipper difficult to open, and gas struts grow weaker as the oil thickens. The roof may need a manual lift, especially with snow on top. High wind may require guying out the tent. Rain can leave you wet by the time you get inside.
While rooftop tent construction is simple in design, setup can take 5–10 minutes depending on conditions. Cold weather can make the cover and zipper difficult to open, high wind may require guying out the tent, and rain can leave you wet by the time you get inside — though setup is still far easier than with most inexpensive ground tents.
Condensation is the quiet enemy. Place an anti-condensation mat beneath the mattress, crack a vent or window for airflow, and run any built-in fan if you have one. These measures keep bedding drier and shorten the morning pack-down routine. Rooftop tents reward a little preparation, and the payoff is a dry, quick exit.
Your tent's stock mattress is the first thing to judge. Many pads feel thin after a few nights, so plan for a topper. A foam topper adds cushion without stealing headroom. Measure the sleeping area before you buy one.
Moisture builds up when warm breath meets cool fabric. Good design fights back. A three-layer fabric helps: the outer layer resists water, a middle membrane insulates, and the inner layer absorbs moisture. A solar-powered vent fan pulls air out, and corner vents let fresh air in. Insulation wrapped around exposed aluminum arms also stops metal from collecting condensation. Add an anti-condensation pad under the mattress to keep air moving below.
Waterproofing comes down to the hydrostatic head rating. Most manufacturers treat 3000 mm as the minimum for a rooftop tent built for typical weather. Ratings from 3,000–5,000 mm handle heavy rain and wind, while 1,500–3,000 mm suits sustained rain. The number alone won't keep you dry, though. Factory-taped seams matter more, since seams leak first. A durable water repellent finish is only a surface coating that wears off over time. Expect real-world performance below the advertised figure after a couple of years of sun exposure.
Wind changes how a tent feels inside. Guy out your tent when gusts pick up, and park with the low side facing the breeze. Cold nights call for an insulation kit. A heated blanket running off a portable power station makes winter camping comfortable, and a diesel heater adds remote temperature control with less condensation.
An annex adds a covered changing area and gear storage below your sleeping platform. Many models convert to an awning, so you get shade and rain protection at camp. Both pieces extend your living space without touching the tent itself.
Small add-ons make camp life smoother. LED strips and power banks keep the tent lit after dark, and solar panels keep gear charged off-grid. A shoe bag or rack keeps mud out of your bedding. Organizers and a foldable kitchen setup round out a comfortable base camp.
Think about where the tent lives when you aren't camping. A hardshell stays bulky even when closed, and hoisting one onto the roof takes two people or a pulley system. Measure your garage clearance first. A closed shell plus the rack often won't clear a standard door.
Lifting is the other chore. Store the tent at waist height on a rack or cart, and slide it up with a helper. That habit saves your back and protects the shell from drops.
A tent on the roof changes how your vehicle drives. Expect a real hit at the pump, mostly from drag.
Condition | Reported Fuel Economy Impact |
|---|---|
Rooftop tent installed (drag + added weight) | ~17% drop in fuel efficiency |
Low-quality or poorly-made roof racks | Up to 25% reduction in gas mileage |
High-quality, well-fitted roof racks | 2–11% reduction in MPG |
While no scientific research has stated outrightly how much your mileage will suffer when you use a rooftop tent, there is data that can help you judge the impact of rooftop tents on your vehicle's fuel.
Clearance deserves a check too. Scan low garage doors, drive-throughs, and parking garages before you commit.
Budget shapes every decision when buying a rooftop tent. Softshell models run $900–$2,500, and hardshell models run $1,850–$4,000 or more. Roofnest describes the spread as about $1,500 for an entry-level softshell up to $4,500+ for a premium hardshell. Its Meadowlark Fold-Out sleeps 2 at $1,695.
Don't forget the rack. A platform rack adds cost on top of the tent, and professional installation adds labor. Factor both into your total before you choose a rooftop tent. A well-fitted rack also protects your fuel economy, so it pays twice.
Start with the basics. Pack warm sleeping bags, a first aid kit, headlamps, a portable stove, cookware, and a water supply with filtration. Add a basic tool kit for adjustments and a fire extinguisher for safety.
Then layer in comfort. A mattress topper runs $50–$150, a shoe bag $30–$50, extra guy lines $20–$40, and an annex room $200–$400. A power bank, a fan, and in-tent storage bags round things out.
Here's what to consider when buying a rooftop tent: match the tent to your vehicle's ratings, your storage space, and your budget. Then pick the right rooftop tent for your trips. A little planning now makes buying a rooftop tent far less stressful.
A rooftop tent mounts to your roof rack and unfolds into an elevated bed in minutes. That's the magic trick. Just remember that your vehicle's dynamic and static ratings decide what you can carry and how many people can sleep up there.
Then pick a softshell for space or a hardshell for speed. Setup stays simple either way, and a little practice plus a realistic budget keeps surprises away.
Buying your first rooftop tent is easier than it looks. Check your vehicle's specs, then research rooftop tents that match how you camp. Browse a few beginner-friendly models and plan a short test trip. One night out tells you plenty.
Yes, many owners do. Just remember the tent counts toward your dynamic roof load every mile you drive. Pull it off during long stretches at home. That saves fuel and keeps the fabric out of constant sun.
Plan for roughly 100 lbs on average, though size and type shift that number. Softshell models often land near 108–174 lbs. Hardshell models typically run 123–125 lbs. Check your roof's dynamic rating before you commit.
You need a rack rated for the tent's weight plus your gear. Factory crossbars often work. Space two bars 24–36 inches apart for a small tent, and add a third bar for a larger one. Confirm the clamps fit your bars.
Absolutely. A hardshell takes 30–90 seconds, and a softshell takes 3–5 minutes once you've practiced. The ladder is the only awkward part. Practice in your driveway first, and solo setup becomes routine.
It depends on the tent's size and your vehicle's static rating. Static capacity often runs 3–5 times the dynamic figure, so the parked load rarely limits you. Pick a model sized for your group, then confirm the mattress dimensions.
Measure before you buy. A closed hardshell plus the rack often won't clear a standard 7-foot door. Softshells pack lower and slimmer. Check your clearance, then decide whether home storage or on-vehicle storage suits you.
Expect roughly a 17% drop from drag and added weight. A poorly made rack can cost you up to 25% in mileage. A well-fitted rack limits the hit to 2–11%. Quality mounting pays for itself at the pump.
Treat 3000 mm as the baseline for typical weather. Ratings of 3,000–5,000 mm handle heavy rain and wind. Taped seams matter just as much, since seams leak first. Check both before you buy.